Thanks for stopping by. Enjoy my site.
Turntable
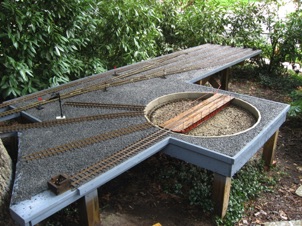
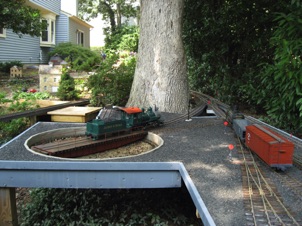
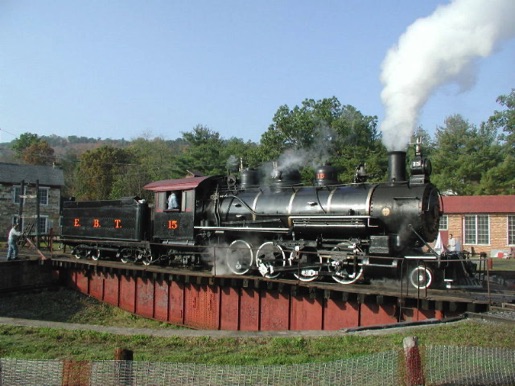
I needed a way to turn my locomotives with my new RR design - an out and back. I became inspired when I visited the East Broad Top in Orbisonia, PA.
The turntable was built in October 2006.
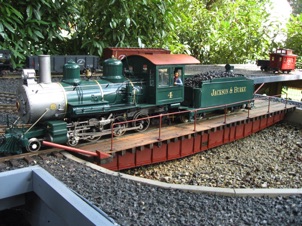
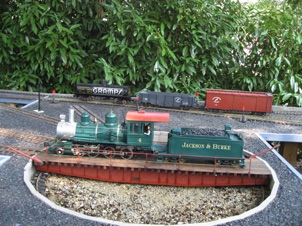
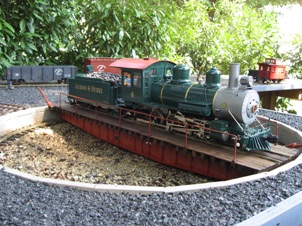
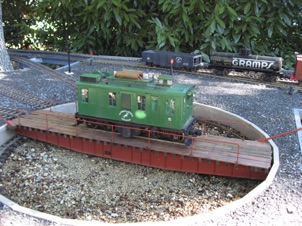
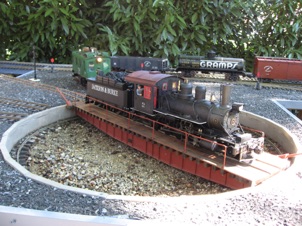
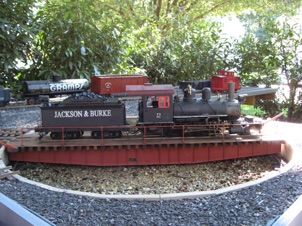
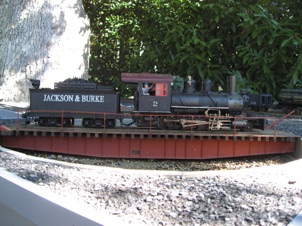
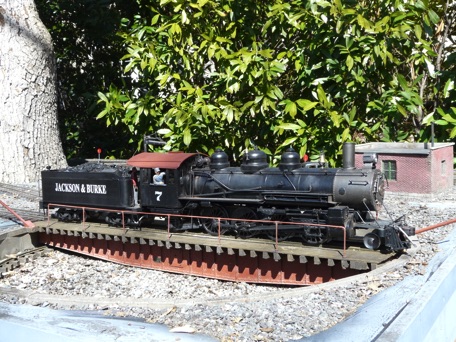
Below, my turntable turns my Mikado, based on the EBT Mikado.
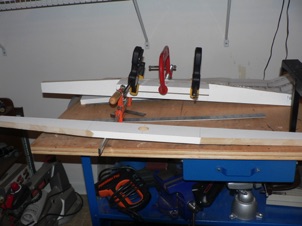
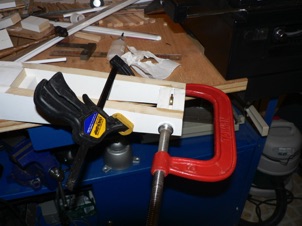
October 5, 2006. I settled on a 3 foot diameter turntable. Using 1x3 TUF board (a composite plastic), I cut two long side pieces and two shorter ones for top and bottom; then tapered the two side pieces.
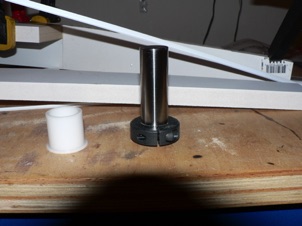
October 5, 2006. For my pivot, I got some parts from McMaster-Carr: 2 delrin sleeve bearings, a 3" steel rod, and a collar to hold the rod in place. Here it is shown upside down...
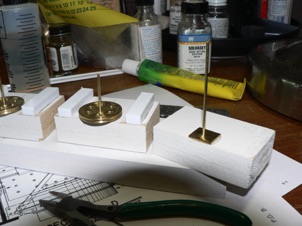
October 6, 2006. My idea was to make this a continuous 3 point balance turntable, with wheels on each end contacting the rail. I used some brass pulleys from my scrap box along with a brass rod for an axle. These were sandwiched between two spacer blocks.
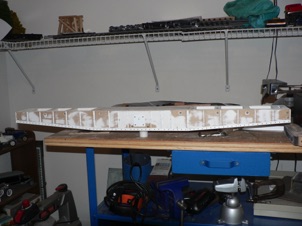
October 7, 2006. Finally, I added plastic "T" beams along the bottom, and vertical angles along the sides. These were held with glue; then escutheon pins - to give the idea of rivets. A styrene hatch (held on by bolts) covers an access hole in case I ever need to get to the collar holding the pin in place.
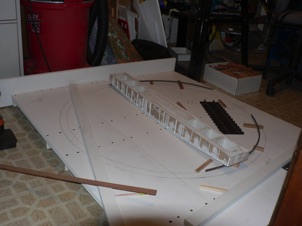
October 11, 2006. I made a base from wider strips of TUF board, reinforced with strips underneath. I glued everything and then used deck screws to clamp it in place.
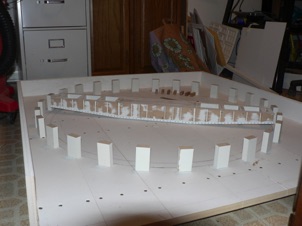
October 14, 2006.
I first glued the support blocks in place, first making allowance for my wall material, making sure that the wall would not cross the line. (My wall material was about 1/8" thick). Then, I used those holes to put some decks screws from below - one in each block.
I first glued the support blocks in place, first making allowance for my wall material, making sure that the wall would not cross the line. (My wall material was about 1/8" thick). Then, I used those holes to put some decks screws from below - one in each block.
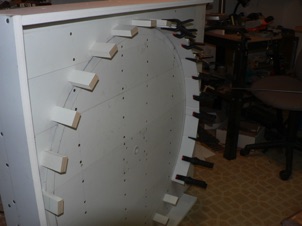
October 14, 2006. I used Precision Products Perfic panels for the walls. I used 3" x 15" inch long sections and just used glue to attach them to the supports; 15" is the max width of the panels. I normally like to use glue and some mechanical fastening, but I felt that it would mar the surface too much. I wanted it to look like poured concrete.
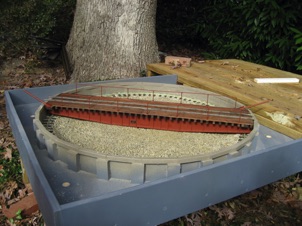
October 15, 2006. I built up the walls using Precision Products Perfic panels cut to size and bent and glued to supporting blocks that were screwed in from underneath. I sprayed the base assembly with Krylon gray primer and the bridge with ruddy brown.
October 18, 2006. Next, I added some spacers and ties and spiked the rail in place. I used code 250 brass from AMS.
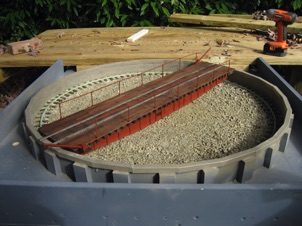
October 31, 2006. I retraced the lines for my rail, then put down some ties and rail. I did end up putting some spacers under the ties to get the rail to the right height. I then capped the walls with 5/8" square stock and painted the whole mess with a textured paint from Rustoleum.
October 23, 2006.
Next, it was time to plank the bridge. Well, first I glued and nailed the ties, spiked the rails in place, and then glued down redwood strips. I nailed these in place with very small brass ship nails. I really don't like relying on just glue alone.
Next, it was time to plank the bridge. Well, first I glued and nailed the ties, spiked the rails in place, and then glued down redwood strips. I nailed these in place with very small brass ship nails. I really don't like relying on just glue alone.
November 1, 2006. Naturally, I needed a builder's plate... I used my Brother P-Touch Printer: Gold on Black.
November 1, 2006. After drilling some drainage holes, I put down some landscape cloth and then covered it all with crushed gravel, built up thicker under the rail. It's held in place with Titebond II glue.
November 2, 2006. I finally adopted this approach for making railings. I cut 1/8" brass tube into 1/4" strips, drill 1/8" inch hole in each of the tube pieces. These will act as the top of the TEE -- cut tube into 1/8" long pieces for the vertical piece of the TEE -- Next I put 5 of the top TEE pieces with the hole, on a 36" 3/32 brass rod -- Bent the 36" rod at each end -- Cut vertical posts out of same rod -- Threaded each rod -- Drill holes in the bridge, making sure to align with the ties -- Insert pieces into bridge. I have "almost" a mechanical connection, making it easy to keep everything in place -- Solder The result looks something like this.
November 3, 2006. And, even though it's not complete, I couldn't resist shooting a picture of my Connie on it.
November 3, 2006. And, even though it's not complete, I couldn't resist shooting a picture of my Connie on it.
